It's unusual…

..what started out as an IVF journey and ended up being about life

Valentines Fun February 12, 2015

Filed under: Do It Yourself!!,Parenting — gertyrae @ 9:38 pm
Tags: , ,

Having a kindergartener and living on Long Island where snow removal is generally a fiasco makes for lots of craft activities. And so we prepped ourselves for V-Day.

First up was the kiddie valentines. Since Colin’s school is a no food zone we had to come up with a non-edible idea. Legos are the toy of choice right now so I decided to opt for Lego gifts. For the girls we made Lego heart necklaces and the boys get an assortment of block. We used Lego #3176 for the necklaces and I picked up a basic value pack at Target for the assorted bricks. The necklace strings were macrame cord purchased at Michaels. Then it was onto the packaging. A bag of 40 small clear bags from Dollar Tree and some cardstock labels that I mocked up and we were good to go.

IMG_0917

IMG_0916

IMG_0915

IMG_0914

IMG_0913

Now onto the teachers! For them I broke out the Shrinky Dinks and we made Valentine key chains. Again, Michaels saves the day with their little $1 Shrinky Dink kits. We also made some tissue paper stained glass hearts that C picked out while we were in Michaels. Add a chocolate rose and a Dunkin Donuts gift card and we are done. I got the hang tag via http://happymoneysaver.com/takes-big-heart-help-shape-little-minds/ and just cut out the shape. All packed up in a neat little Dollar Tree gift bag (can you guess my two favorite stores?).

IMG_1202

IMG_1203

IMG_0980

IMG_0981

Oh yeah, we had another pretzel day in the mix!

Wishing everyone a Happy Valentines

IMG_0974

IMG_0977

IMG_0978


Snow Day Projects February 19, 2014

Filed under: Do It Yourself!!,Life,Parenting — gertyrae @ 12:53 pm
Tags: , , , , ,

20140219-110658.jpg

We have had a bevy of snow this winter and I have spent the bulk of my days figuring out what we can do in.the.house.all.the.time.

We’ve done puzzles, played Legos, watched movies and even broken down and purchased Disney Infinity….

But, it all comes back to baking and yesterday we decided to make pretzels. Great project for C and they were delishly yummy. Shout out to Jessica Fischer for the basic recipe on good cheap eats.

Here is our version:

Homemade Pretzels

20140219-111039.jpg

1/2 cup warm water
1 cup warm milk (microwave for 1 minute)
1 Tablespoon sugar
1 1/4 teaspoon salt
1 tablespoon rapid rise yeast

Whisk all above together in stand mixer bowl until blended. Let sit for approximately five minutes to get a bit foamy.

20140219-112248.jpg

With dough attachment on mixer, add the following:

1 cup whole wheat flour
3 cups bread flour

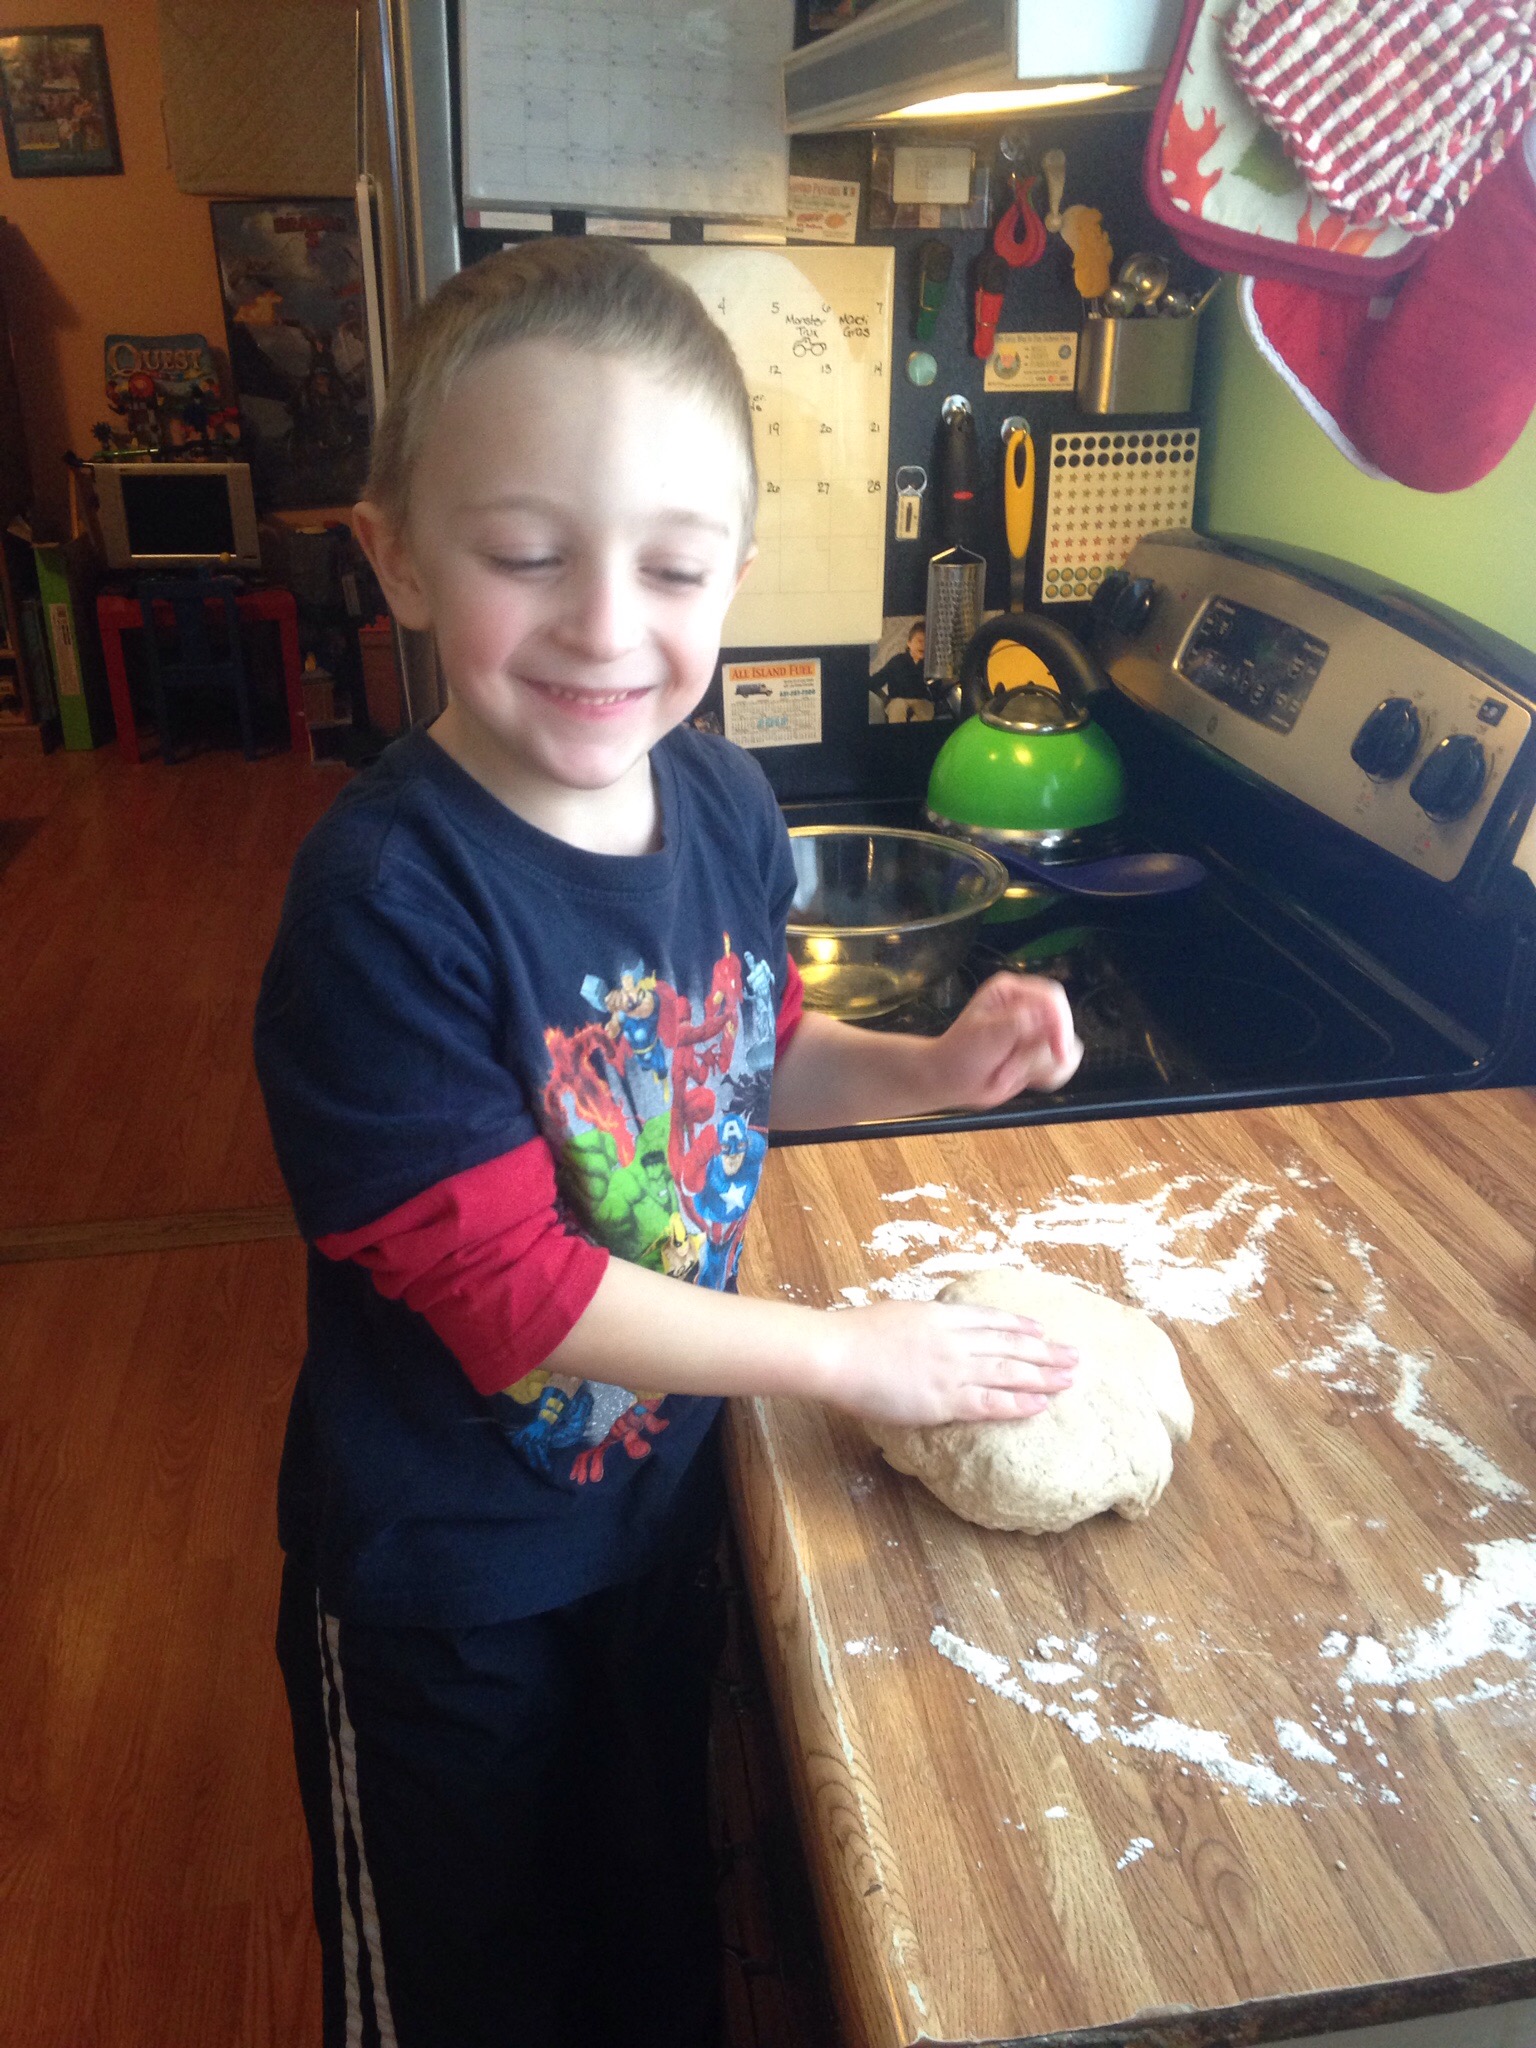
And mix together. Remove dough from mixer and knead for approximately 10 minutes. You can take turns 😉

20140219-112616.jpg

Place dough in a lightly greased bowl, cover with a clean dish towel and place in a warm location to rise. Allow to rise about 1 hour, dough should double.

20140219-112844.jpg

20140219-112854.jpg

When dough has doubled, flatten it out and divide into equal pieces approximately golf ball sized. I put them back into the bowl and let them sit as we shaped each pretzel. For each pretzel, roll dough into a rope about 15″ long, lay dough on counter and make a “U” shape

20140219-113302.jpg

Now take the open ends and twist them around each other twice.

20140219-113410.jpg

Turn twisted ends back to the “U” part and press together. Set aside. Preheat oven to 450 degrees.

Now you need to make a soda bath, in a 6 quart pot boil 8 cups water. When water is boiling add 1/4 cup baking soda…very slowly!. We had a volcanic eruption cuz we added it too quickly. When the mixture is at a rolling boil add pretzels one at a time and let boil for about 30 seconds. Remove each pretzel and place on a parchment lined cookie sheet.

20140219-114106.jpg

Once your cookie sheet is full, salt pretzels with coarse salt (or leave as is for cinnamon/sugar pretzels) place in oven and bake until browned, 8-10 minutes.

20140219-114240.jpg

Remove, allow to cool and Walla!! You have pretzels. If you opt for cinnamon/sugar brush the pretzels with melted butter while warm and sprinkle cinnamon sugar on top.

20140219-114504.jpg

Yummy delishness!!!!

20140219-114548.jpg

Oh, and enjoy the snow!!

20140219-114828.jpg

20140219-114840.jpg

20140219-114929.jpg

20140219-114942.jpg

20140219-115211.jpg

20140219-115218.jpg


DIY Mint Candy Bowls December 18, 2012

Filed under: Do It Yourself!! — gertyrae @ 9:03 am
Tags: , , , ,

Before anything – I’ve got to thank Tutto Bella Blog for this idea…just loved it and wanted to try and take it to another level.

This is a great inexpensive way to make something cute and personal for a small gift. I made them to give to Colin’s teachers with the gifts in them.

Anyway, here goes:

Mint Candy Bowls

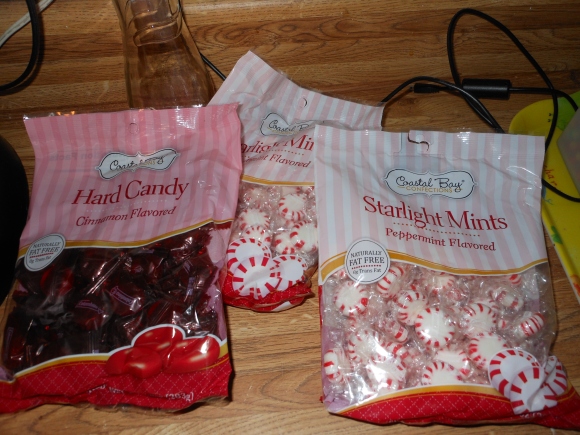
You need: Starlight type mints, parchment paper, cookie sheets, a bowl and an oven

I got my mints at Dollar Tree and since I couldn’t find red and green mints anywhere, I opted for red mints and cinnamon candy for contrast.

Image

Now preheat the oven to 350 degrees

Place the parchment paper onto the cookie sheet

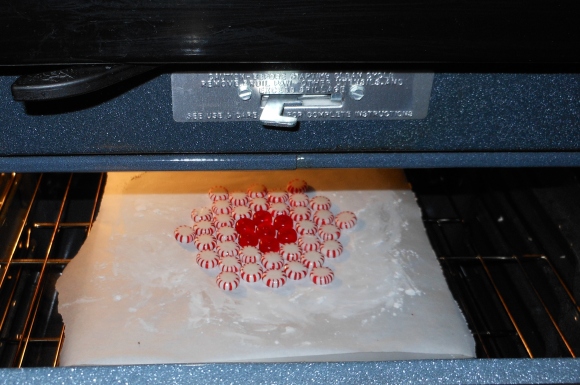
Arrange the mints and candies in a circular pattern of your choice on the center of the paper. Make sure to leave a little bit of room between the mints.

Image

Carefully place in the oven making sure the mints don’t slide too much and bake for  8 to 10 minutes. This is the the first tricky part, you have to watch them closely after 5 minutes. You don’t want them to melt too little or too much.

Image

Take them out of the oven to cool.

While the candies are melting, take a small bowl (I used a kids cereal bowl) and turn it upside down and cover it with parchment paper. I turned the paper under the top of the bowl to hold it down.

Super tricky part now – when the candies are cool enough to maneuver without them turning into a molten mass and not so hard that they will break (I waited about 3-4 minutes), flip the parchment with the candy onto the upside down bowl, form it loosely over the bowl and let cool.

I let them cool another 3-4 minutes.

Image

Peel the parchment off the bottom and inside of bowl and

Walla!! You have a candy candy dish!


Image

I also made a couple of trays and another bowl – there was one bowl that didn’t make it. I didn’t let it cool enough before peeling the paper and it turned into a flat mess. To make the edges of the trays smooth, I used a pizza wheel to cut them about a minute or so after they came out of the oven. The trays are super fragile so be careful when using them. I find the bowls seem to be a bit less fragile but I have no idea why. Some more pics of the bowls and trays.

This was the epic fail:Image


Love TrayImage

The finished products – for a total cost of $6.00

Image


Do It Yourself – Experiment One May 6, 2012

Filed under: Do It Yourself!! — gertyrae @ 9:47 pm
Tags: , , , , ,

Making Laundry Detergent

Okay, so I figured I had to give this a shot. Not only should it save boatloads of money if it works out, but I now have some kind of idea what is going into my laundry detergent.

I had seen a few posts here and there about making it yourself and this “recipe” seemed to be the most popular. It was not nearly as difficult to make as I expected. Like I had read, the worst part was grating the soap. I’ve been using it for a few days now and it seems to work great. Now, if it lasts as long as it should the savings will be significant.

Here’s the recipe for those that may want to give it a shot:

  • 1 Box of Borax  $5
  • 1 Box of Arm & Hammer Super Washing Soda $3.50
  • 1 Container of OxyClean $6.00
  • 2 Bars of Zote Soap $3.00
  • 1 4 pound Box of Arm & Hammer Baking Soda $4.00
  • 1 Bottle of Purex Crystals Fabric Softener $5.00
Image

The ingredients as we used them

Total Cost:$26.50 — and this is supposed to last approximately a year.

To make it, you need a large bucket. I mixed it in portions to make life a little easier. Plus, I had Colin helping so it gave him something to do by mixing the powders together and I would add the Zote soap as I grated it. I think it took us an hour total. Once it’s all mixed, you use 1-2 tablespoons per load of laundry. I followed another bloggers suggestion of putting the detergent into the empty Purex bottle and then using the cap to measure out detergent per load. The middle line on the cap is 2 tablespoons so there is no thinking involved 🙂

Image

this is the soap all grated up

Image

Colin mixing up the detergent

After it was all mixed, I put the detergent into some extra large storage bags I had. I ended up with 2 large bags of detergent and the Purex bottle full. I figure that even if I only get six months out of it, I’m still saving around $50 since I was using Method detergent at $12/bottle on sale and I went through a bottle a month…

Image

This is what I ended up with when I was done.

By the way, this works in HE machines also.

Now I have to find a “recipe” for dishwashing liquid!

I just wanted to come back to say – I made this detergent in May and just had to make a new batch a few weeks ago. Started using it the beginning of December. So, $28 for 6 months of detergent works out just fine for me! And it really works great, my clothes smell good and they come out clean every time.